How to wear and remove hair system?
During the using of toupee or hair replacement, we may have doubt especially for the one who use hair first time. How to install the hair? How to move? How to protect the scalp? We will introduce some tips for you today.
Self - Maintenance Hair System Tips
STEP 1) Scalp Preparation
Remove adhesive residue
Begin by wiping all visible traces of hairpiece adhesive residue from your scalp with a wet towel or cloth. Using a paper towel and adhesive remover rub
Quick Tip: You can use a wide tooth comb and comb through your own hair to scrape off any excess residue
Wash your entire head
Next, hop into the shower and wash your entire head, hair and scalp thoroughly at least twice.
While showering, thoroughly scrub your scalp and hair with exfoliating scalp scrub. Rinse and repeat 4-5 times. This will ensure any trace of hairpiece adhesive residue is eliminated.
Dry your head
After showering, be sure to fully dry your head and scalp with a towel and/or blow dryer, removing all excess moisture.
This would also be a good time to remove or shave any hair or stubble from the bonding area. We recommend using an electric shaver.
Applying waterAproof sealant
Last, we highly recommend applying a layer of waterproof sealant, such as our Scalp Prep, to your skin. This will help protect your skin as well as encourage adhesion with the toupee tape or adhesive. (Allow the Scalp Prep to completely dry before attaching your hair system.)
After you have completed the scalp preparation, and only after, will you then be ready to attach your hair system!
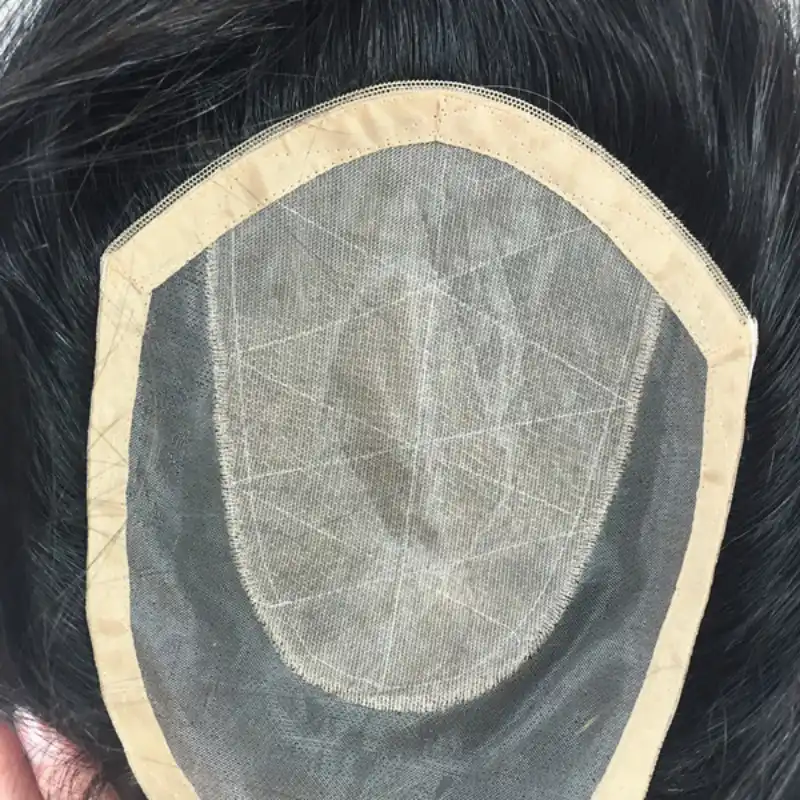
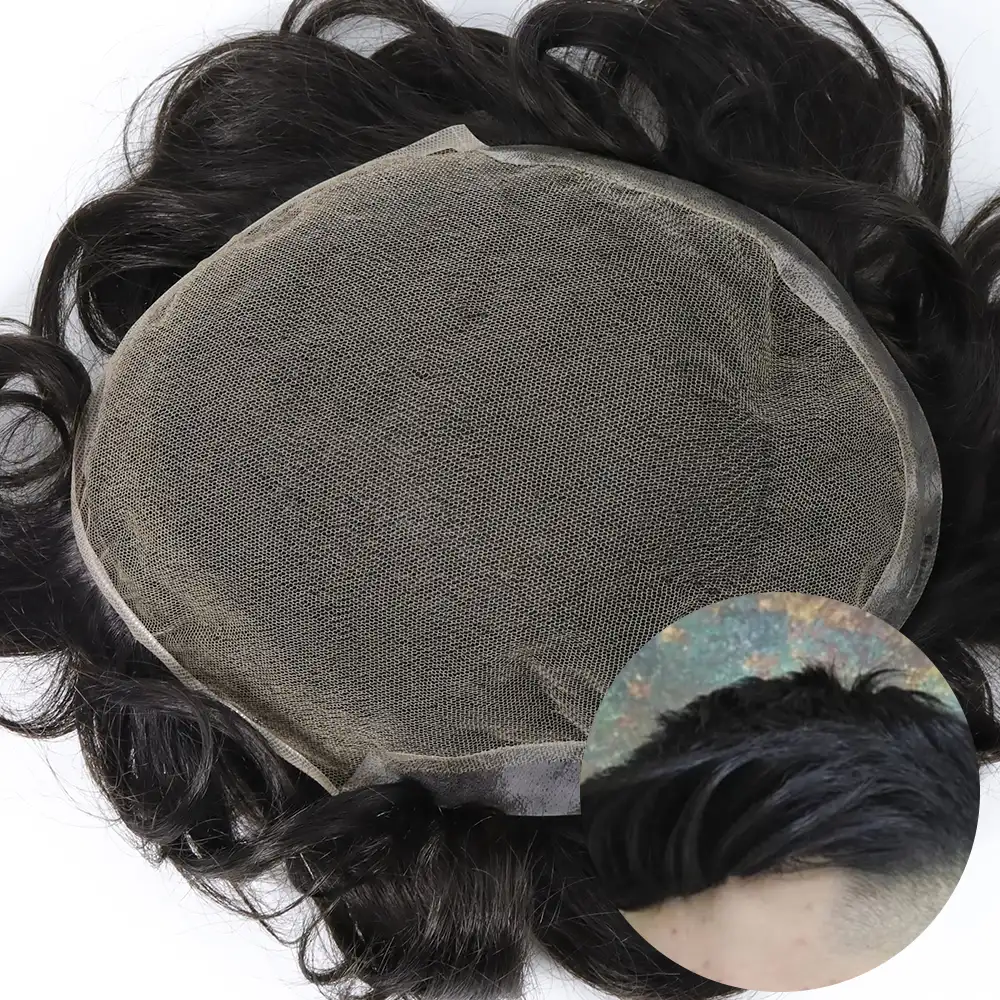
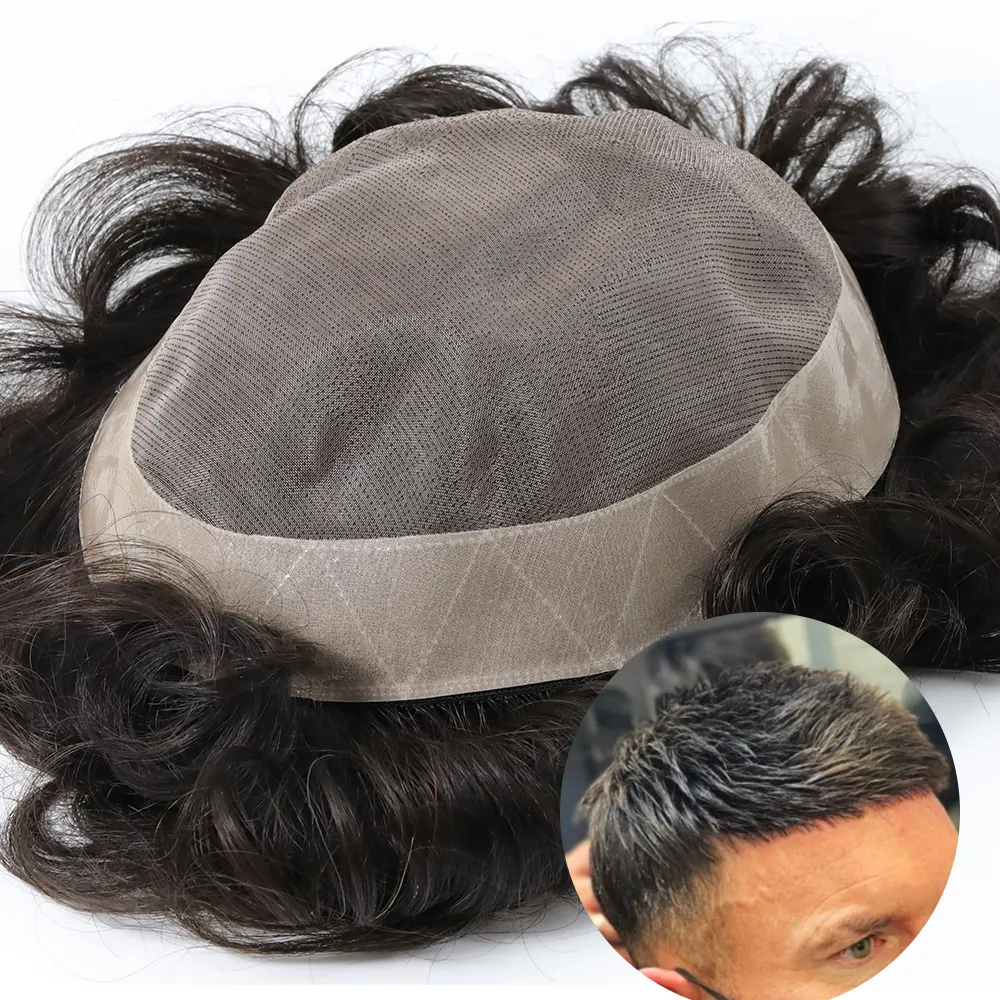
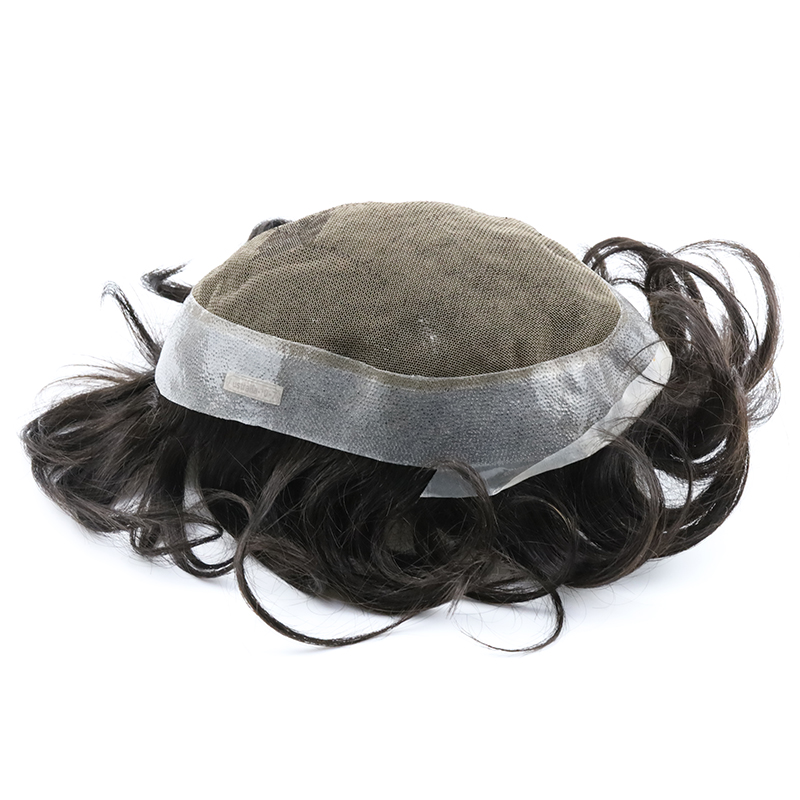
STEP 2) Taping and Placing Your System Back On
Taping up your hair system
Place the system on your lap or flat surface.
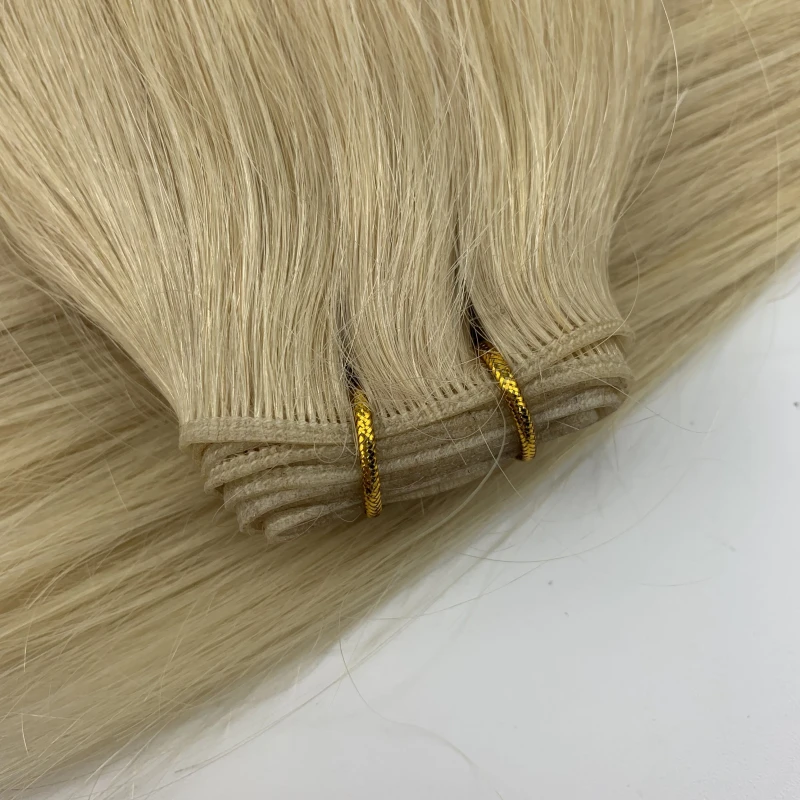
If you are using a roll of tape cut the tape into pieces and snip the corners off from one side of the tape. Place the piece of tape and the side with the corners snipped off on the edge of the PU part of your hair system. Once firmly placed peel back the backing part of the tape half way and fold it back.
Cut off another piece of tape and repeat steps above. Ensure all gaps are filled around the entire perimeter of the hair system base.
Once done remove all the backing from the tape around the hair system
QUICK TIP: Before removing the backing from the tape you may want to practise placing the system on your head and ensuring you find the right position. Practice makes perfect so keep trying until you feel confident. Then you can remove the backing from the tape and try it for real.
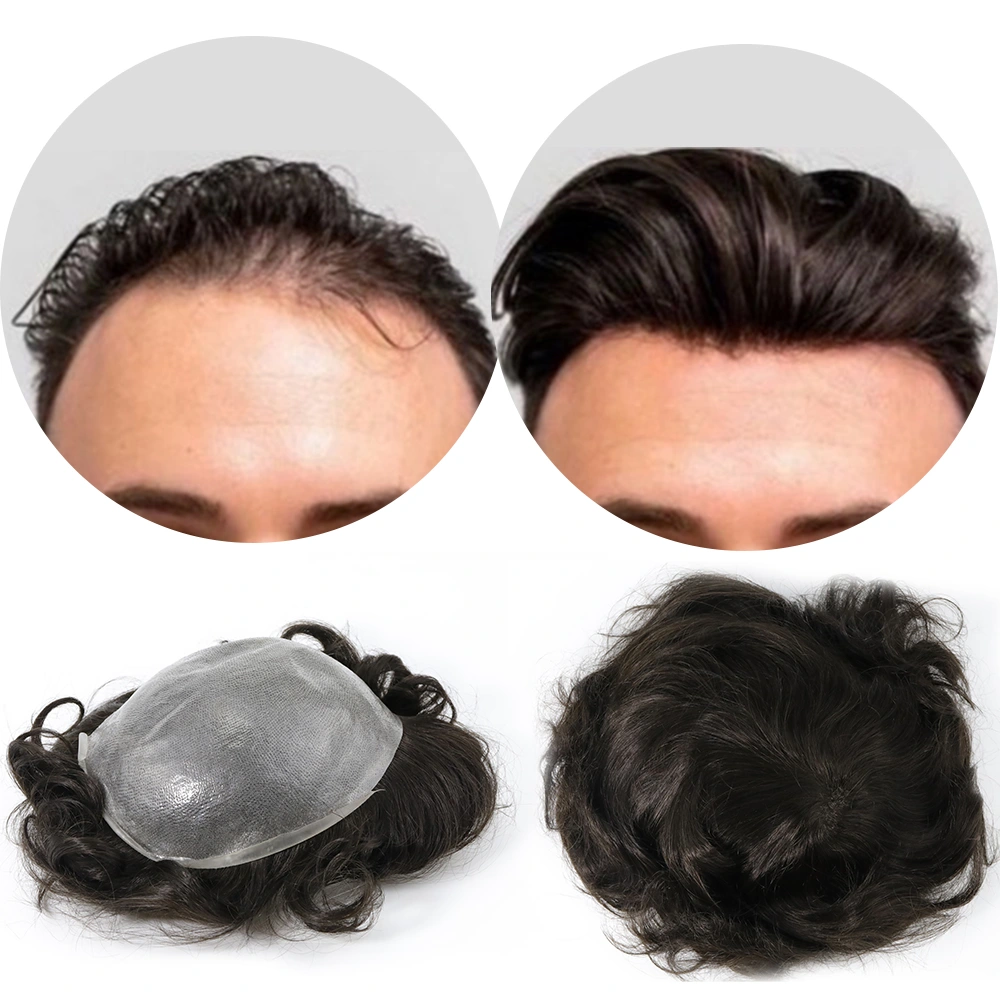
Find the right location
Locate the front and center most spot on your forehead where your growing hairline would naturally begin. To find that spot on your forehead raise your eyebrows as if your're looking up at the ceiling. Gently run your fingers along your forehead until you find the area where the soft facial tissue meets the harder cranial tissue.
Your hairline will begin approximately 1/2 inch above this border of hard and soft tissue. Hold your index finger directly on the edge of the softer tissue, using your nose as the center point. With your other hand, mark a spot above your finger.
Begin placement
You are now ready for placement. Grasp both sides of the hair system and slowly lower the unit down onto your head so that the entire base touches your scalp at about the same time.
Once resting on your head, you should be able to move it freely over your scalp in all directions until it is aligned with your forehead guide dot or indentation and all around the edges of your natural growing hair.
Wait several minutes for the alcohol to evaporate and then you can begin carefully patting or pushing down on the unit to better secure the bond and hair system into place.
Quick Tip: Once you have placed on your head check it is all in the right position. Then use a wide tooth comb and comb through your hair system to ensure any hair stuck under the system is combed out. When you are happy then use your fingers to press down the system to your scalp tightly and add pressure to ensure a tight fit and any excess bubbles removed.
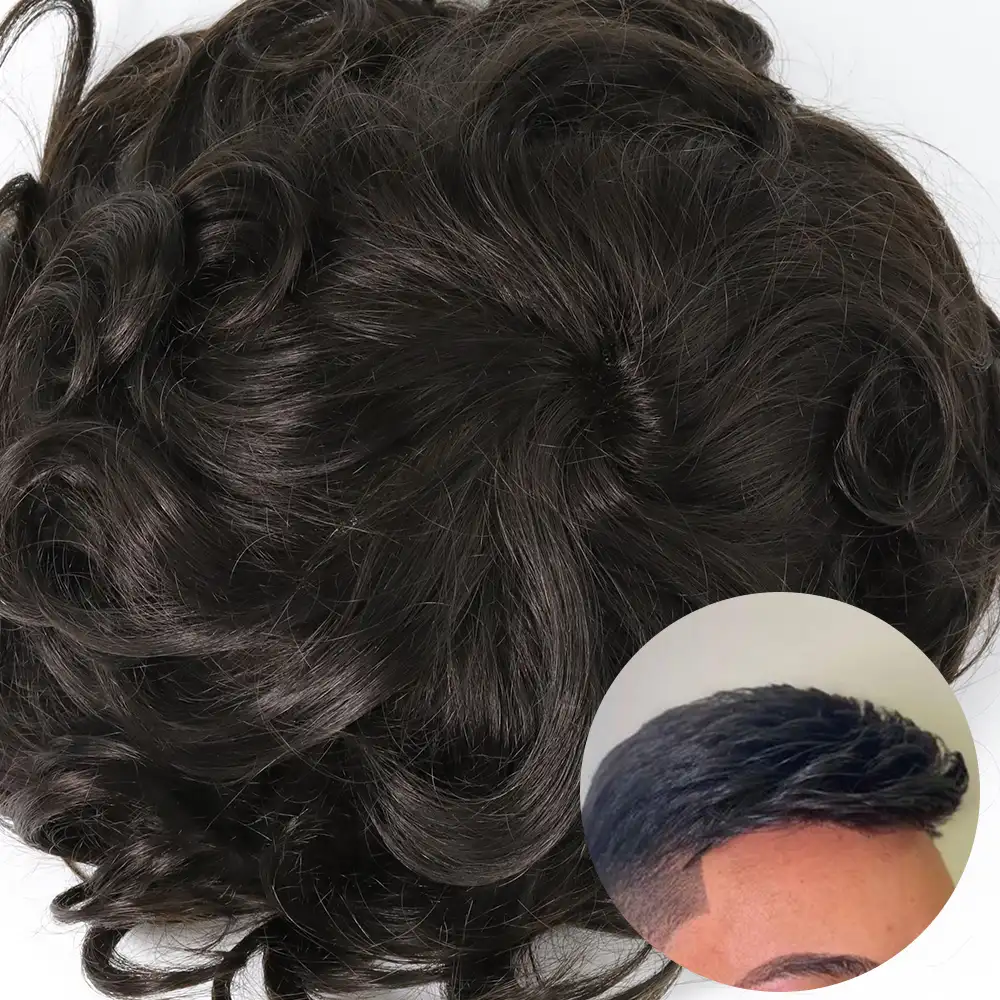
Style
At this point your hair system should be securely attached and positioned nicely where it belongs, covering your balding area. The very last step is to wet down the hair and using either a Vent Brush or your fingers, style your doo until you reach your perfect level of style.
STEP 3) Removing Your Hair Replacement System
Taking your hair system off can be tricky and a little dangerous if you don’t know the right procedure. The material is quite delicate and you could risk tearing or damaging the unit.
If you’re looking for an easy and SAFE way to remove your hairpiece or toupee, just follow the instructions below to reduce hassle and minimize the potential for hair system damage.
Step One Applying adhesive remover
To begin, find your spray-on or dab-on adhesive remover and apply it directly on the area of your hair system that is secured to your scalp.
Allow the solvent to soak in and break down the bond for a few minutes before continuing to the next step.
Step Two Begin peeling hair system from the back
In order to avoid damaging your front hairline, we recommend always removing your hair system from back to front. Start by using the tips of your finger to feel around for the very back edge of the unit.
Quick Tip: If you wear a full cap hair system we recommend peeling up the sideburns first before starting at the back.
Step Three Peel up back of hair system until removed
Once you’ve located the back edge, gently scrap across it with your fingernail. All you need to do is peel up enough of the base so you can grab onto it tight with your fingers.
While peeling your hair system off from the back, use your adhesive remover spray between the bottom of the base and your scalp. This will help break down the adhesive and make the unit easier to peel off.
Using a spray remover? Spray a light mist directly between the base and your scalp while peeling up the unit, after a few inches, stop and spray more adhesive remover.
Using a dab-on remover? Either use the dab-on applicator or soak a liberal amount of adhesive remover on the tip of a paper towel. While peeling up the unit, swipe the applicator or paper towel across the bottom at the point where it is attached to your scalp.
Whatever method you choose, simply continue a few inches at a time until your hair system is completely off.
Warning If you wear a polyurethane or skin hair system base be careful not to pull too hard as you could stretch the material
STEP 4) Cleaning your Hair System
Removing the hairpiece tape
Start by removing the hairpiece tape from the polyurethane areas of your system. Use your fingernail to gently "flick" or scrape up the very edge of the hairpiece tape to start the peeling.
Quick Tip: If you are struggling to take the tape off spray some more adhesive remover and leave to soak for a few minutes.
Cleaning the hair system
Lay your hair system in a sink face up (the hair will be on the bottom) and under cool running water never use HOT water)
To clean the lace areas gently brush the swollen adhesive residue with a finger nail brush to loosen and break it free.
To clean the skin areas use a teaspoon by scraping any excess residue off with gentle, short vertical strokes. After getting most of the excess residue off shampoo and condition
Shampoo and condition
Finally, after rinsing thoroughly wash the unit again, this time using a mild shampoo to balance the acid level and lastly condition.
Your unit should now be clean and clear of any old adhesive residue.
Once you have finished cleaning the system place a dry towel on a table or floor and place the system on top of the towel. Gently roll up the towel with the system inside and squeeze the towel. This will help dry the hair and the system base ready to apply tapes again. Do not squeeze to hard.